
Virtual Reality is maturing both in its hardware and as a medium to channel content to consumers. As such there is a plethora of virtual ancient temples and timeworn tombs available for the masses. This procedure is more commonly referred to as Cultural Heritage Preservation. However, as much as I’d like to go off into a mosquito-riddled jungle to find a lost civilization or fly over arid deserts to find buried temples, I am just as happy toiling in local endeavors (not really though ;-p).
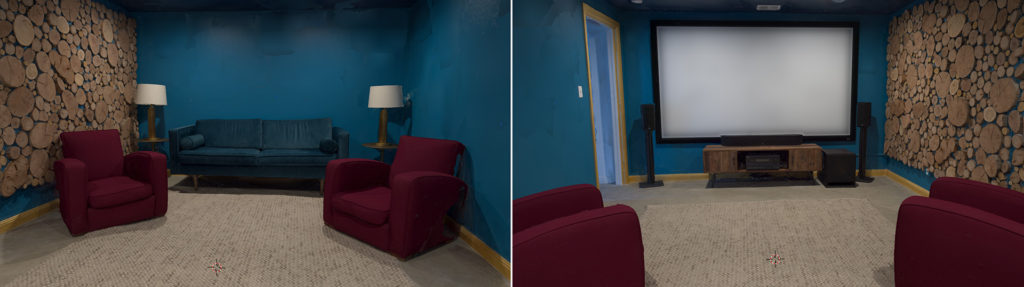
Recently I was fortunate enough to be part of several such ventures. The most recent one as of this writing was the Oculus Quest Content Preview. For this I was tasked with constructing photogrammetry scans of several family rooms (see image below). I wouldn’t ordinarily recommend using this technique by itself as it doesn’t work well with plain surfaces like walls and ceilings. Preferably such data is incorporated in at least a few LIDAR scans as those tend to work very well indoors. A second challenge was that I could only work with the available room light, meaning it required the use of a tripod and long exposure times. Bracketed exposures would most certainly have improved the final result but that would have taken much, much longer.
Another very exciting project was that of the Kerry James Marshall’s Mastry Exhibition at MOCA here in Los Angeles. This was a once-in-a-lifetime assembly of privately owned African American paintings. To preserve this unique experience it was decided to scan the entire exhibit including the exhibit space itself. While one team was capturing LIDAR data it was my role to take photographs of the paintings to be combined with the LIDAR later. More importantly, once all the geometry was generated in RealityCapture I had to retopologize the entire exhibit for the VR experience. You can see the result (before color data was applied) in the image at the top of this page.
A very similar project was that of a Marriott hotel lobby, to be turned into a VR demo. It was quite the challenge to remodel everything within a week, as it included a Starbucks Coffee Shop and much of the parking lot and fountains outside. You can see the result of my work in the video below. As with the previous project it wasn’t my task to generate any color so black and white will have to do.
For those who are interested (and for my future self) I have created a list of pointers to look out for:
- To save time keep the organic forms as decimated scans and create low polygon meshes for the rest. Once the textures are applied it will be impossible to tell the difference but it saves A LOT of time.
- Even though models in your scene are identical (e.g.: chairs and lights) they need their own (non-overlapping) texture coordinates. Not doing so will create unpredictable projection results.
- Prior to scanning, avoid floating or dangling cords such as mouse and keyboard cables, power strips, power cords, etc. … It is much better to remove them if possible as you’ll have to very accurately remodel them in post. Not doing so will cause their color info to be projected unpredictably. If you can’t remove cords, tape them down against a flat surface.
- Use LIDAR whenever possible if walls are plain! Photogrammetry alone may not be able to generate any geometry on flat surfaces.
- Mirrors are portals! If you find that your room is showing up twice, check your mirrors.
- Avoid foliage.
- Use circular polarizers if you have natural light illuminating the scene. Surface glare will change depending on your angle, causing projected textures to look choppy. CP’s can reduce this effect.
- Avoid wind or draft if you have curtains or plants nearby (close doors and windows).
- And finally, kick everyone out before you begin! Nothing is worse than having scenery be moved around or a person walking through your scene mid-scan. “Fix it on post” is always your enemy.